Baby name swaddles are all over my birth groups and instagram, and my life motto is basically this meme: 
So I set out to design and make one!
For my images, I purchased stock photography from stock.adobe.com and edited them to add my baby’s name, change colors, and create a repeating design in photoshop, so I could then print through Spoonflower. But, Photoshop is expensive (and so are stock images!) and time spent learning these skills is valuable too – so if you don’t already have access to those elements, Spoonflower has a handy tool right on their design upload page to help you easily create a repeating design fit for fabric.
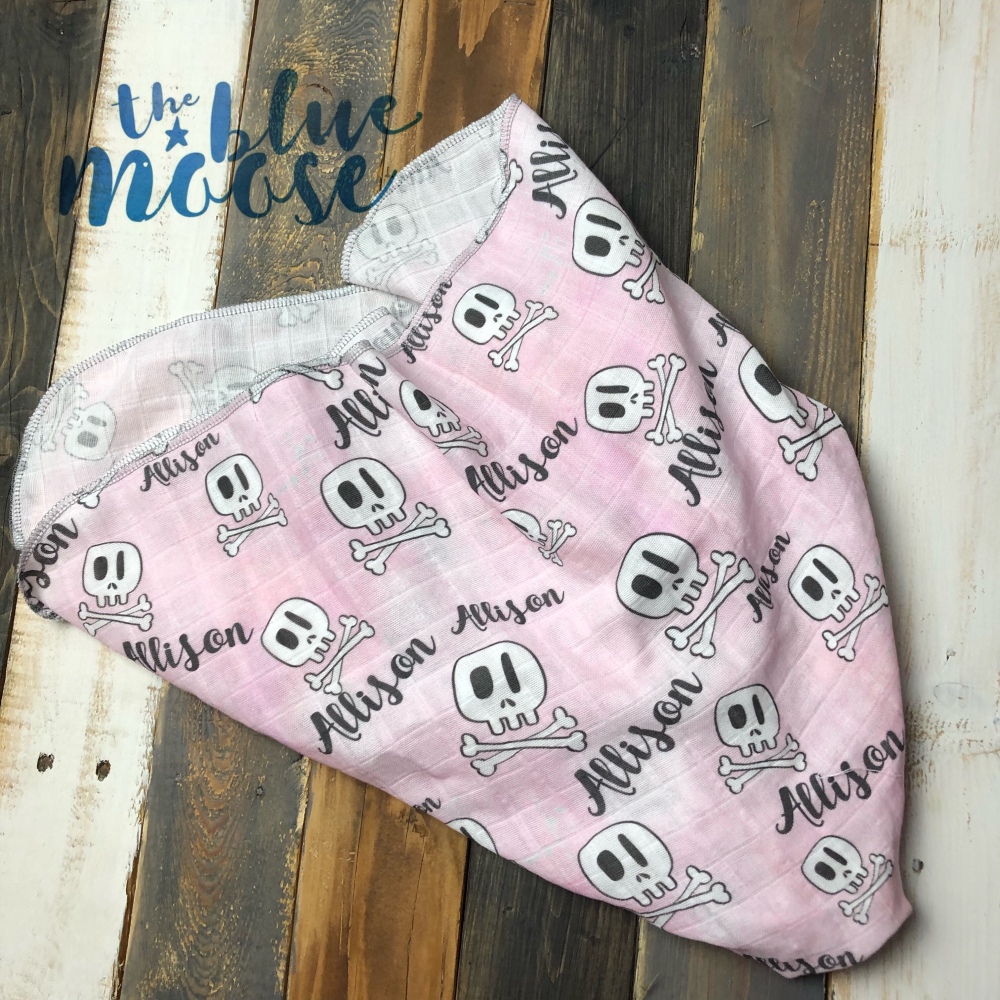
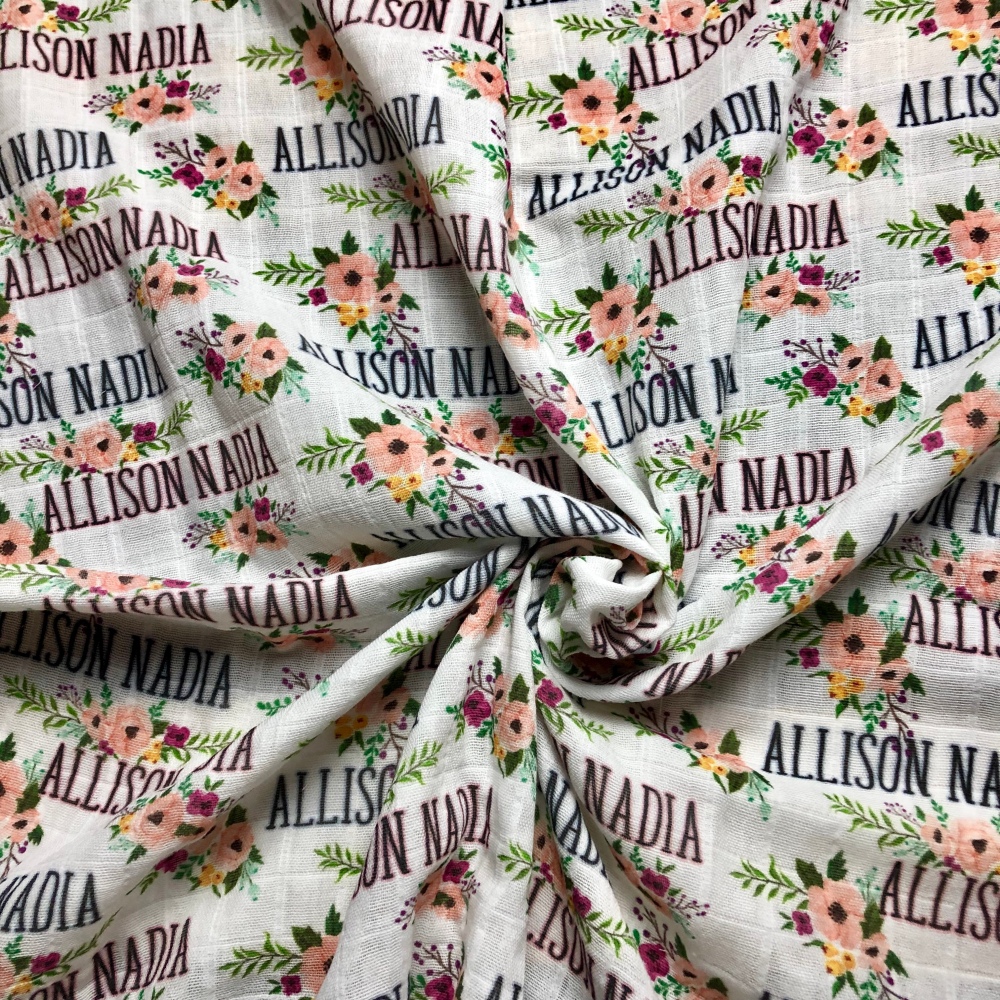
Here are the images I came up with:


I made two because baby swaddles don’t need to be very large, and it makes more sense when considering cost to order by the yard. I settled on the SF organic gauze, because gauze blankies are my favorite baby texture – plus with summer approaching, it’s light, airy and breathable for nicer weather. If you prefer swaddles that are a bit warmer, the Organic Cotton Interlock is a great option too! Cotton interlock makes a blankie with a bit of stretch and makes tight newborn burrito swaddles a breeze to do.

I used the “Fill-A-Yard” option to order two prints on one yard of fabric, and chose the vertical split option to create fat halves.
It took about two weeks from ordering to receive my fabric. I’ve had Spoonflower take anywhere from one week to three, so if you’re making yours as a gift, it’s best to plan ahead and start early.
I didnt think to take a picture before cutting into the fabric, but it comes as one piece with some white trim on the edges left over from the printing process.
I always throw my fabric directly wash on my normal washing and drying settings directly after receiving it to remove any access dye and to preshrink it. Gauze shrinks a bit and comes out of the dryer a lot fluffier and softer than when it went in.
Then, you just trim off the access fabric and spilt the yards so you have your two separate prints. They end up about 28″ x 35″ (or a little less depending on shrinkage. You can choose to square off your piece if you prefer more traditional square swaddles, just trim it down on the long edge to 28″x28″. I chose to leave mine rectangular for the extra length.

To round the edges, I just freehanded a scalloped edge ruler by folding a scrap of cardstock in half and trimming the end into an even curve with scissors. I matched up my swaddle fabric corners and folded it in 4ths, and then used my rotary cutter and the cardstock ruler to trim all four corners at once.
Then I just serged around the edges with my serger! The actual cutting/and sewing of this project took less than 15 minutes, start to finish. The bulk of the work was actually the designing the digital file for print.
If you dont have a serger, it’s a bit more work, but you can leave the blanket corners square and do a rolled hem. If I was choosing this method, I’d probably break my prewashing rule and wait until the blanket was finished to wash because of the crinkling nature of gauze when it’s washed. Here’s a quick video tutorial I found, if youre not familiar with how to do a rolled hem: Sew Hem of Receiving Blanket
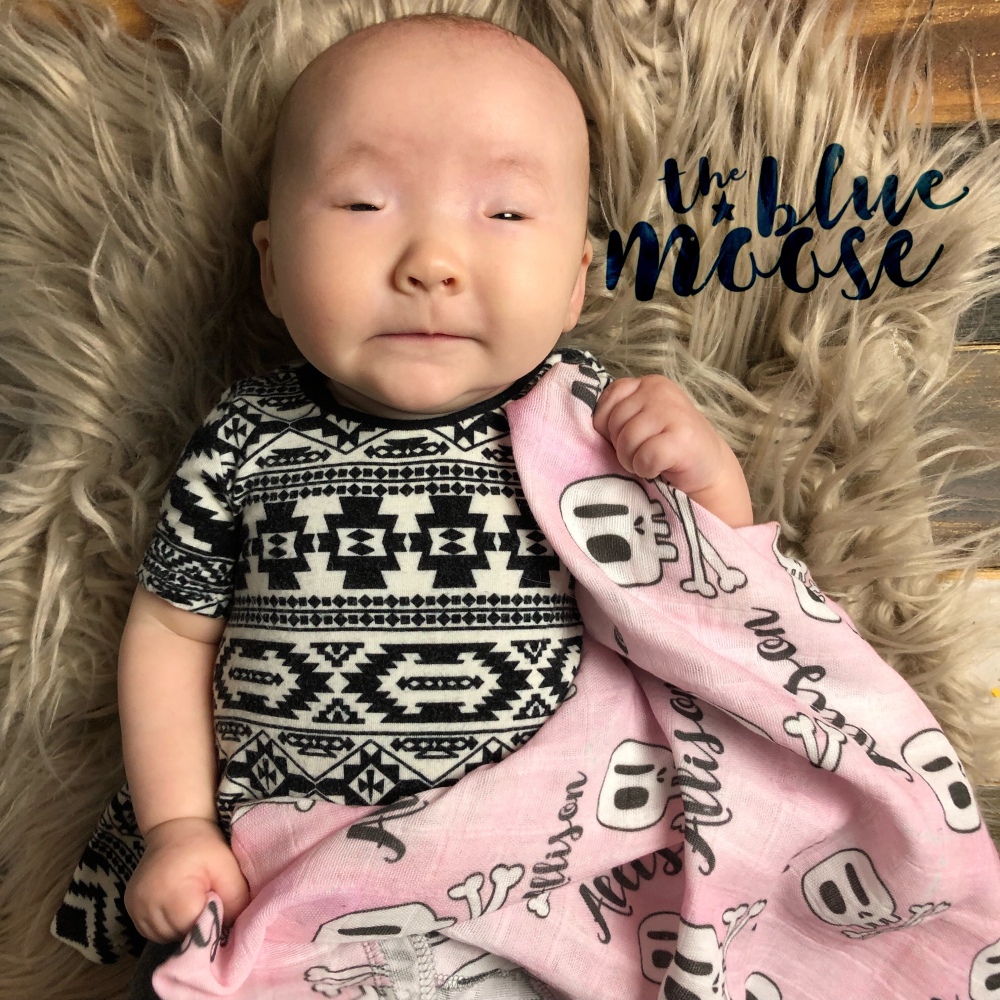
It’s really that simple! I opted to only sew up one, and save my other design to do a baby lovey. I’ll show you that one once I’ve got it sewn up.

No time to make your own? Follow along in my facebook group for my ready to ship and made to order handmade products! The Blue Moose
